For those who want to create their own Minecraft Skin, there’s a website that provides a Minecraft Skin Editor. As the name implies, you can create Minecraft skins according to what you want with this website.
However, for those who want to make their own skin for the first time, you can say that using this service is quite difficult. So, that’s why Wowkia will tell you the basic steps to use this skin editor easily.
How to Use Minecraft Skin Editor
Keep in mind, this service itself is free, depending on which website you use. However, I provide users with a free service to use this skin editor for the website that I use myself. So, I recommend this site to you. If you have understood our discussion this time, here is the explanation.
If it’s your first time using a skin editor like this, be sure to read the explanation below carefully.
Total Time: 10 minutes
Go to Skin Editor Website
For the first step, you need to open the skin editor website first. You can open it by clicking on this link.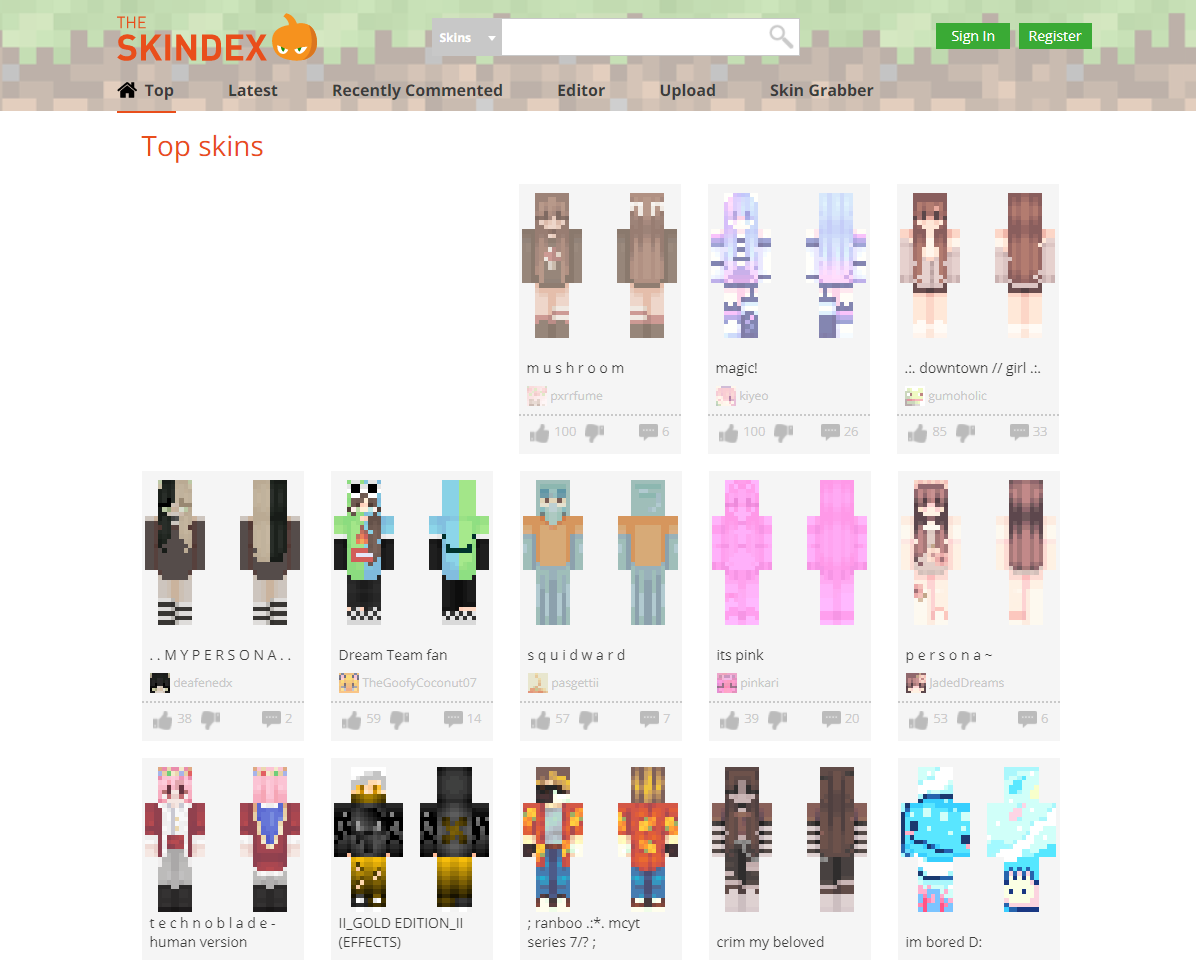
Skin Editor Features
After entering the website, you will see a display like this. As you can see, there are many features that you can use here. To find out what this feature is for, you only need to hover your mouse cursor, and later information about the feature will appear.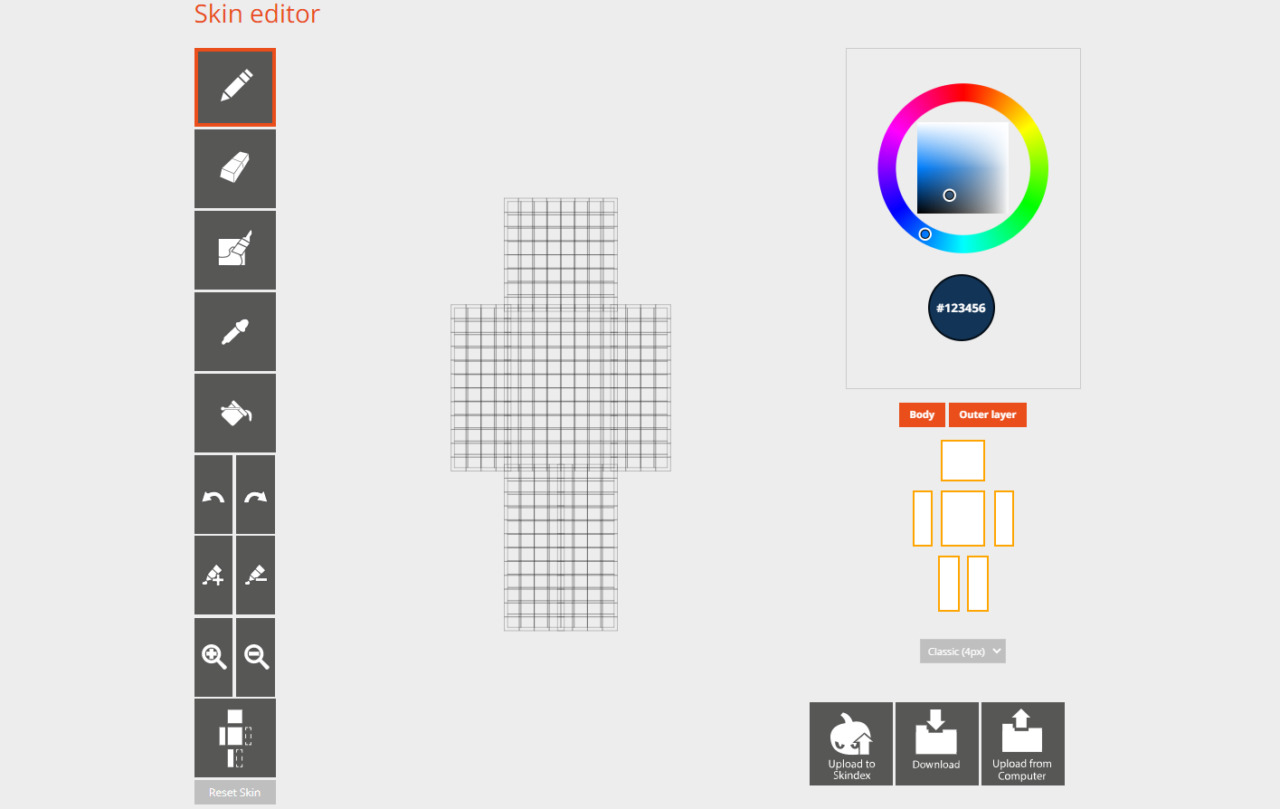
Create Your Minecraft Skin
After knowing these features, you can now create your own Minecraft skin. Again, it’s easy; you just need to use one of these features, then draw as you want.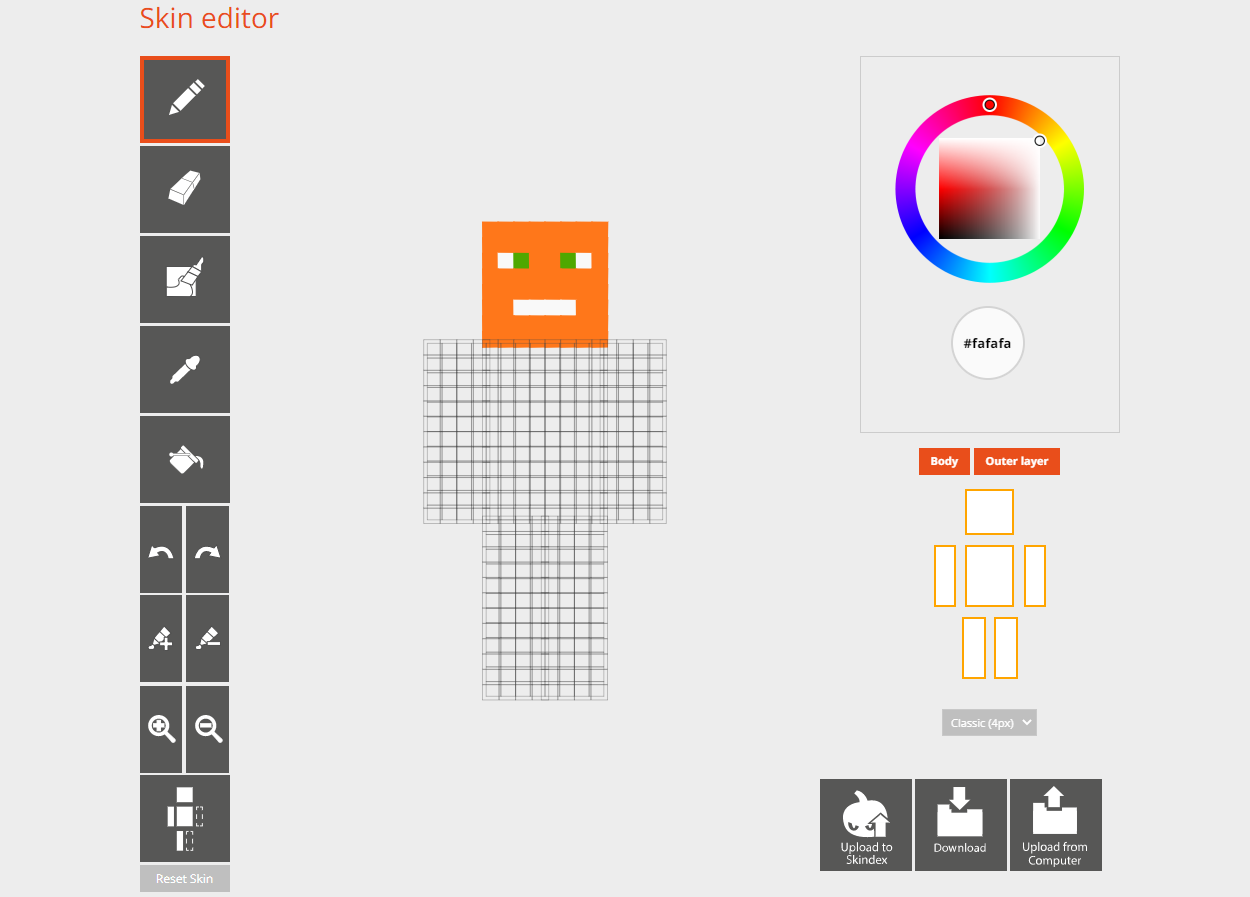
Download Your Minecraft Skin
If you’ve finished making your Minecraft skin the way you want it, now you can download it by clicking “Download,” as shown in the photo.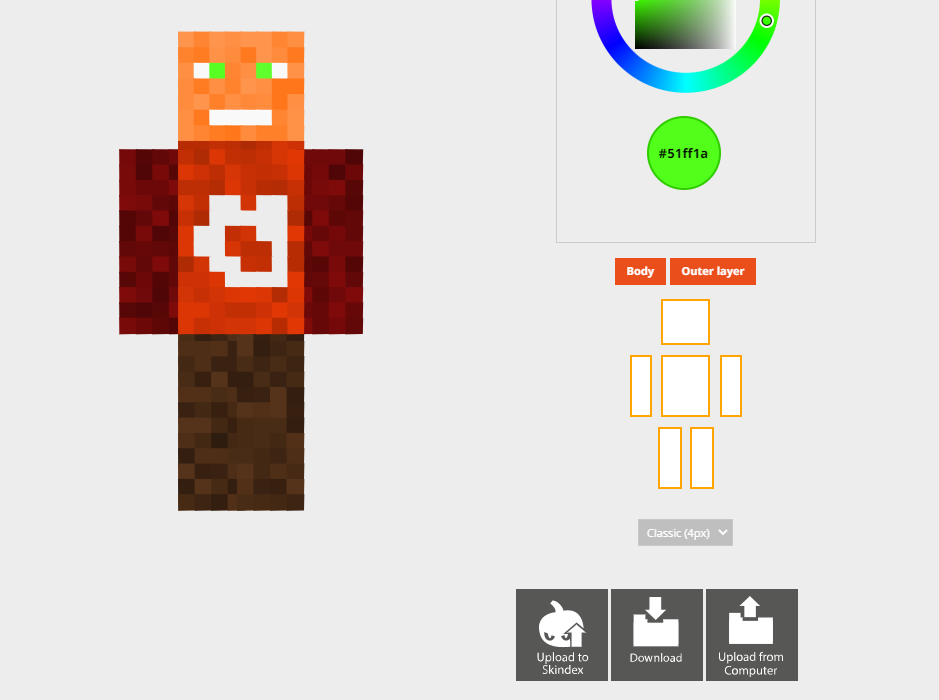
That was the basic way to use Minecraft Skin Editor easily. For those of you who have high creativity, you can make cool skins. However, because I don’t understand the design myself, that’s why I just made it as shown in the tutorial.
