


War Thunder is an immersive 3D vehicular combat multiplayer video game by Gaijin Entertainment avaliable on Steam, but how do we change appearance our vehicle appearance? Wowkia is here to help.
There are two types of war thunder skins, user-made skins and paid skins from the item shop. This article will discuss changing vehicle appearance using user-made skins.
Changing Vehicle Appearance in War Thunder

To change your vehicle’s appearance, we need to find a user-made skin you want to use for your vehicle. First, you can find user-made skins by clicking here. Type in your vehicle name and type of skin you want in the search bar, for example, #BF-109 #anime. In addition, It is also recommended to find a skin that is 4K DDS. After you found a skin you like, you can download it by clicking the download button.
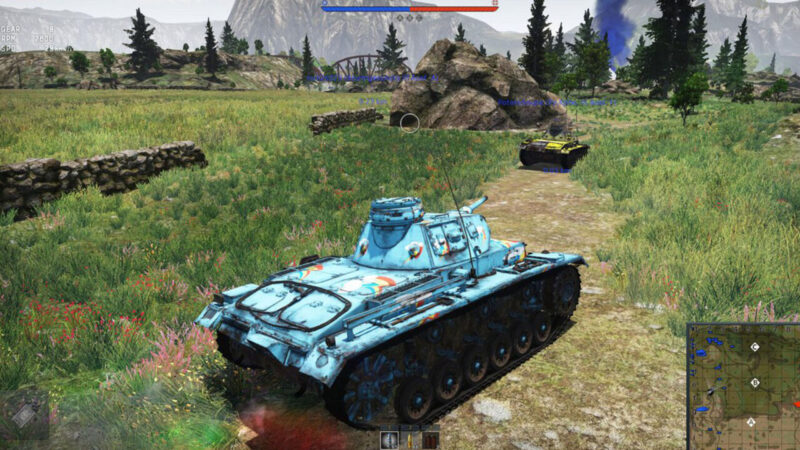
After downloading the skin file, you will need to extract the zip skin file. A folder containing the extracted file will appear on the desktop. We will have to create a custom template for that skin which we will process in the game. Right-click on the vehicle you want to re-skin and click the customization option. Afterward, click the magic wand icon labeled “to create a user skin file.” After clicking it, it will give the vehicle a second camouflage option.
Finding War Thunder Folder
Now we need to find the folder where War Thunder is installed in. If you downloaded War Thunder in the default destination, the best way is to go to File Explorer. Then click on :C/Local Disk, then click on Program Files (x86). After you open Program Files (x86), click on “steam” and then “steamapps“. Afterward, click on the common folder and open the War Thunder folder. After opening the War Thunder folder, click on the UserSkins folder.
Replacing and Installing Skin Files
However, if there isn’t a UserSkins folder you can make it yourself. In other words, you create a folder with the same name (UserSkins). Find and open the template folder of the vehicle you want to re-skin. Thereafter, open the extracted skin file. Copy-paste all of the content from the extracted skin folder to the template folder. Replace all of the old files in the template folder with the extracted skin files or click the “replace all files in this destination option” if it shows up.

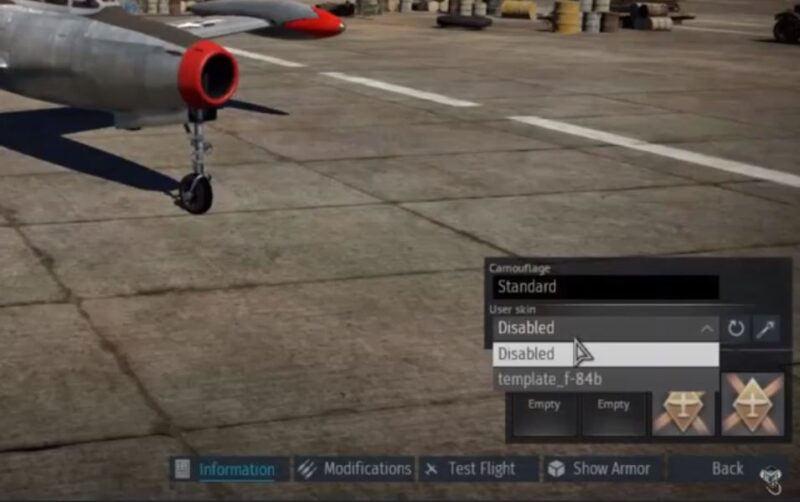
Now go back to War Thunder, open the customization menu again, and select your new skin in the “user skin” option usually named template_name of the vehicle. You can rename the skin by renaming the folder you copy-pasted the files into. You can delete the zip folder and the skin folder you extracted (Optional). Now you could use the new skin you installed on your vehicle.